Overview of remote operations procedures
Full details in shared Google Drive document:
https://docs.google.com/document/d/107ePxj2ON98GjdU47jPbPXJk6zNvsuOyYADkHkKG730/edit?usp=sharing
Helpful commands for remote access
- Streaming Video from video switch
vlc http://guider:iamTO@192.168.66.87/mjpg/video.mjpg &
http://192.168.66.87
- Streaming audio from HPF scrambler
vlc rtp://@:4444 --sout-rtp-caching 100 & #locally
vlc http://192.168.66.90/xstream --sout-rtp-caching 100 & #any machine on VPN
http://192.168.66.90
- High-fidelity streaming audio from dome microphones
vlc rtp://@:4446 --sout-rtp-caching 100 & #locally
vlc http://192.168.66.37/xstream --sout-rtp-caching 100 & #any machine on VPN
http://192.168.66.37
- Webcam in primary DIMM enclosure:
http://10.10.10.18
http://dimm-cam.het.astronomy.utexas.edu/
- Webcam on second DIMM on upper hex: (runs in Amcrest app in Chrome browser)
http://192.168.66.110
http://dimm3-cam.het.astronomy.utexas.edu
- Web-based NoMachine access to Juno:
http://192.168.66.26:4080
http://juno.het.astronomy.utexas.edu:4080
- Web-based NoMachine access to Zeus:
http://192.168.66.107:4080
http://zeus.het.astronomy.utexas.edu:4080
- Web-based NoMachine access to Janus
http://192.168.66.16:4080
http://janus.het.astronomy.utexas.edu:4080
Troubleshooting
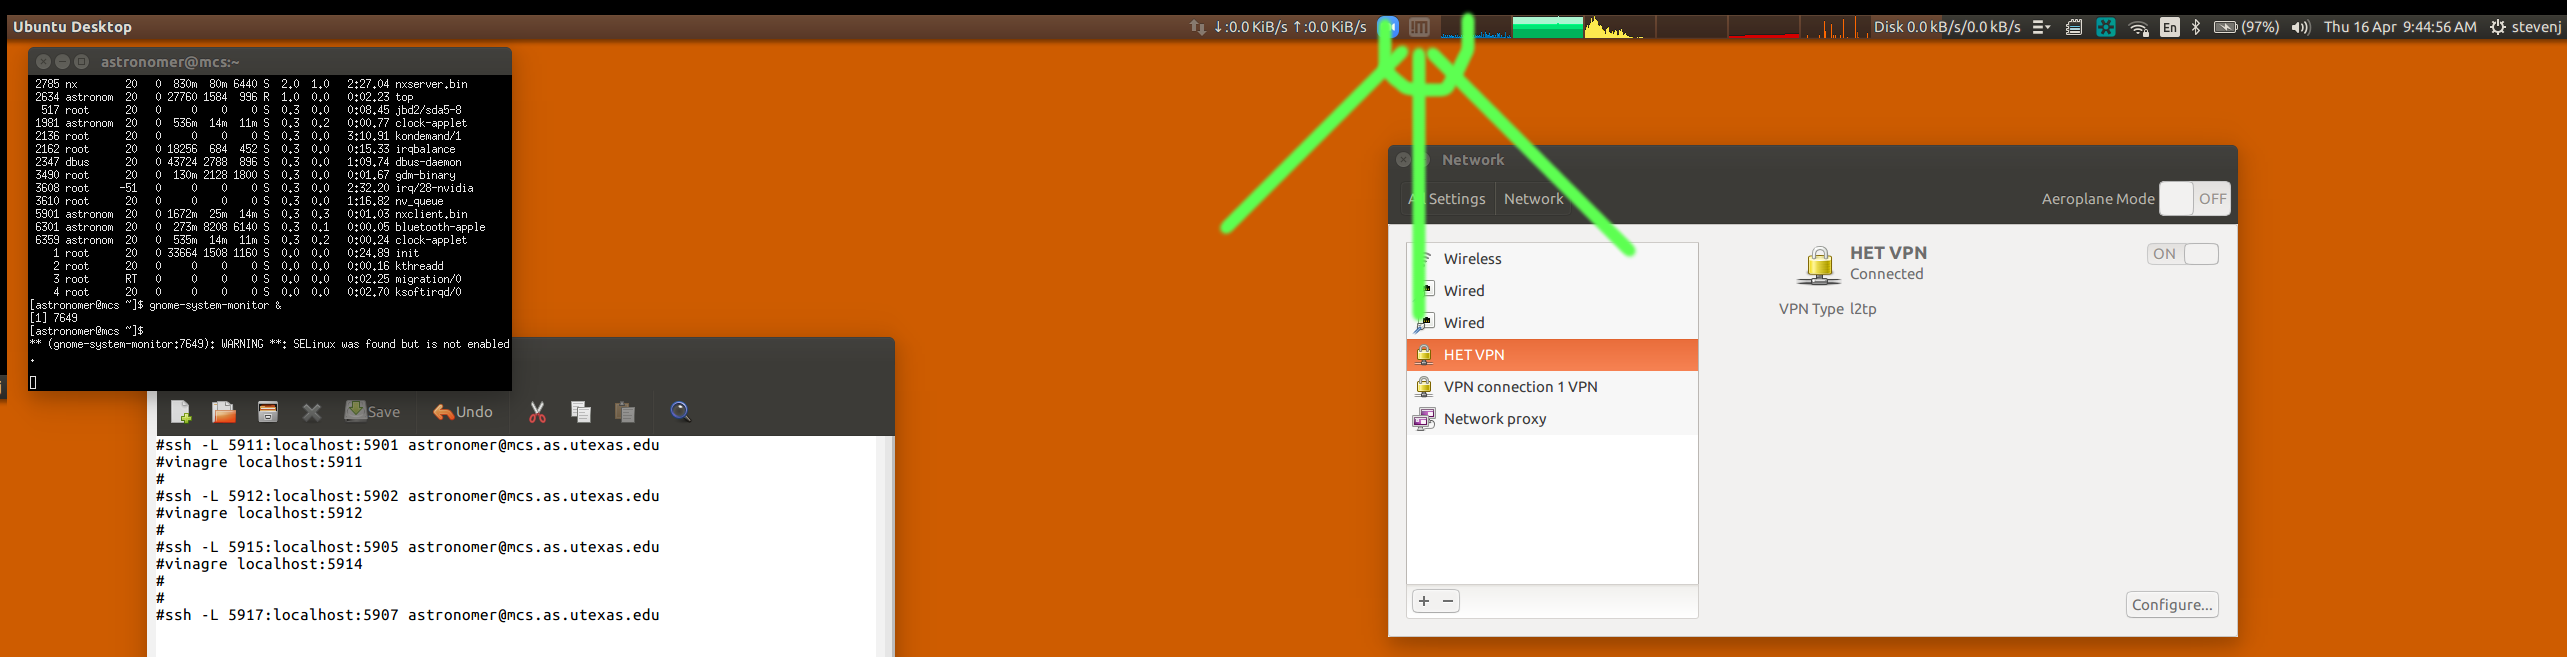
- Frequent connection drops or impossible connect to HET VPN.
The solution is to call Stephen Cook so he reboots HET side of VPN connection
Connecting to zeus via NoMachine (NX)
- First you must connect to the HET VPN, then you can connect with NoMachine?, VNC, SSH, etc
- Install NoMachine on your computer (download: https://www.nomachine.com/download ).
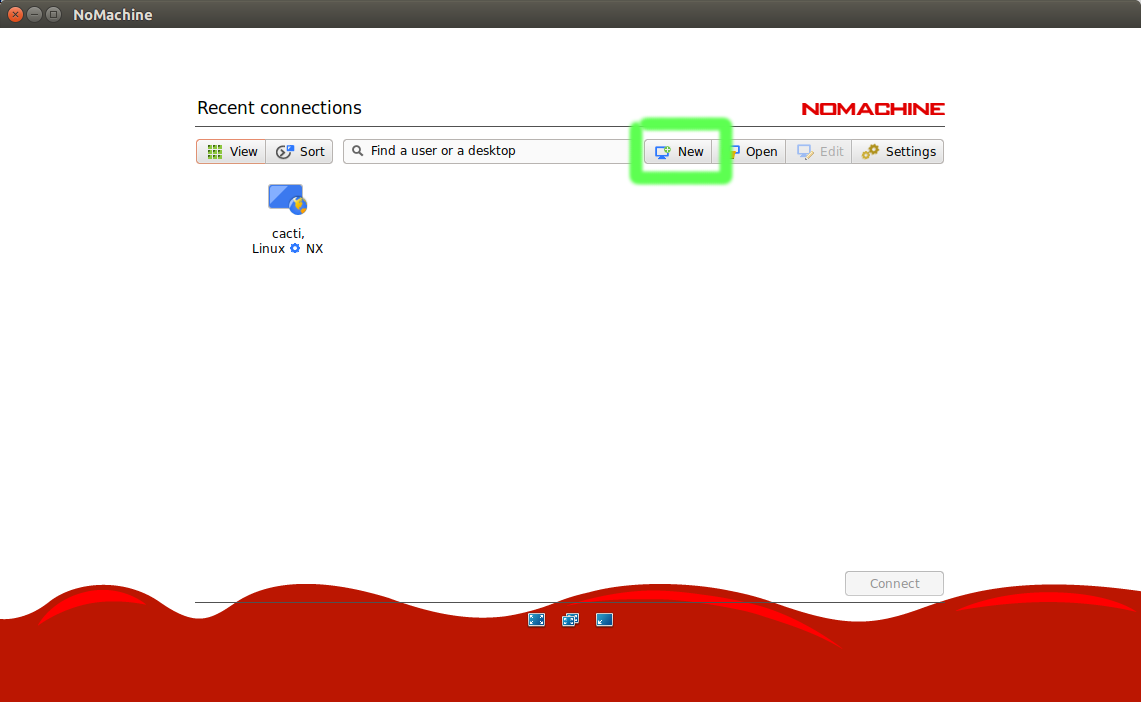
- Launch NoMachine client, either from launcher, or in top bar icon:

- In the "Recent connections" window, click "New" to create a new connection:

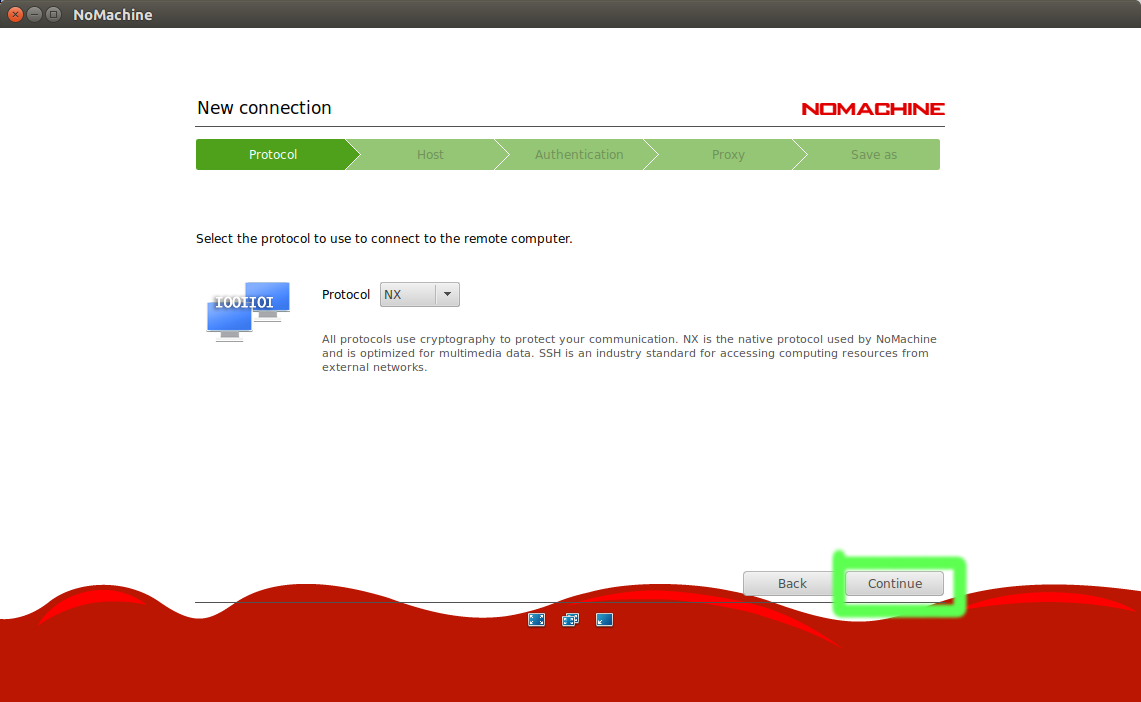
- Click "continue" to use the NX protocol

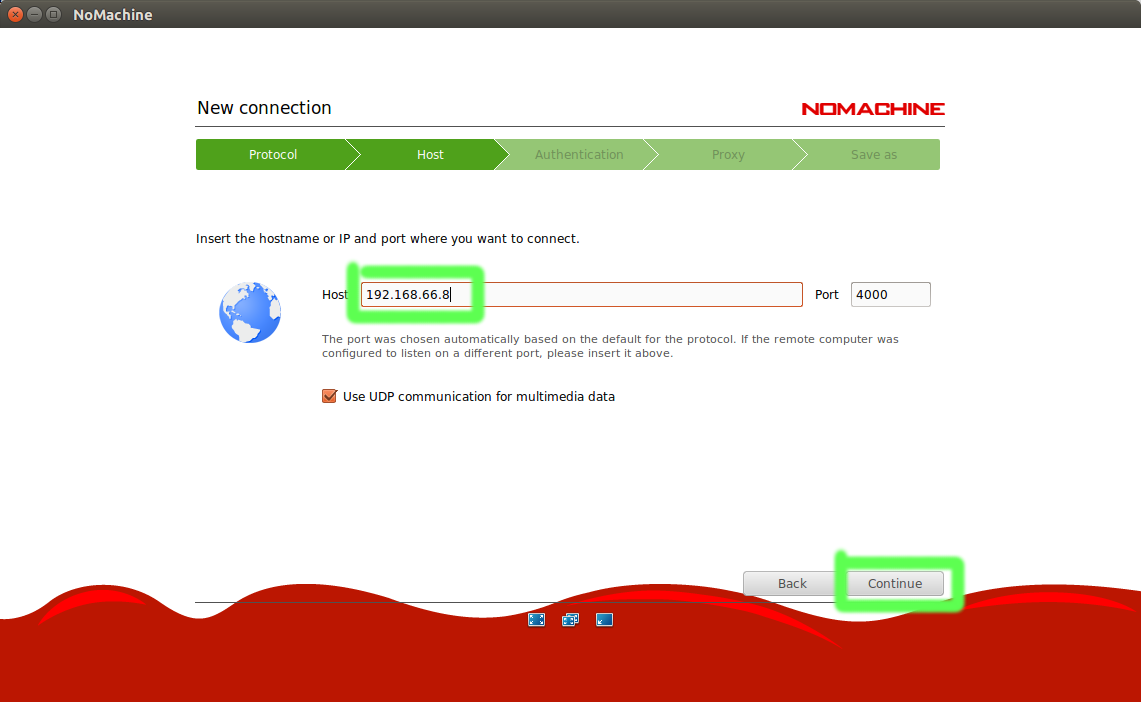
- Type in the IP address of ZEUS 192.168.66.107, not the IP address shown below, then click "continue"

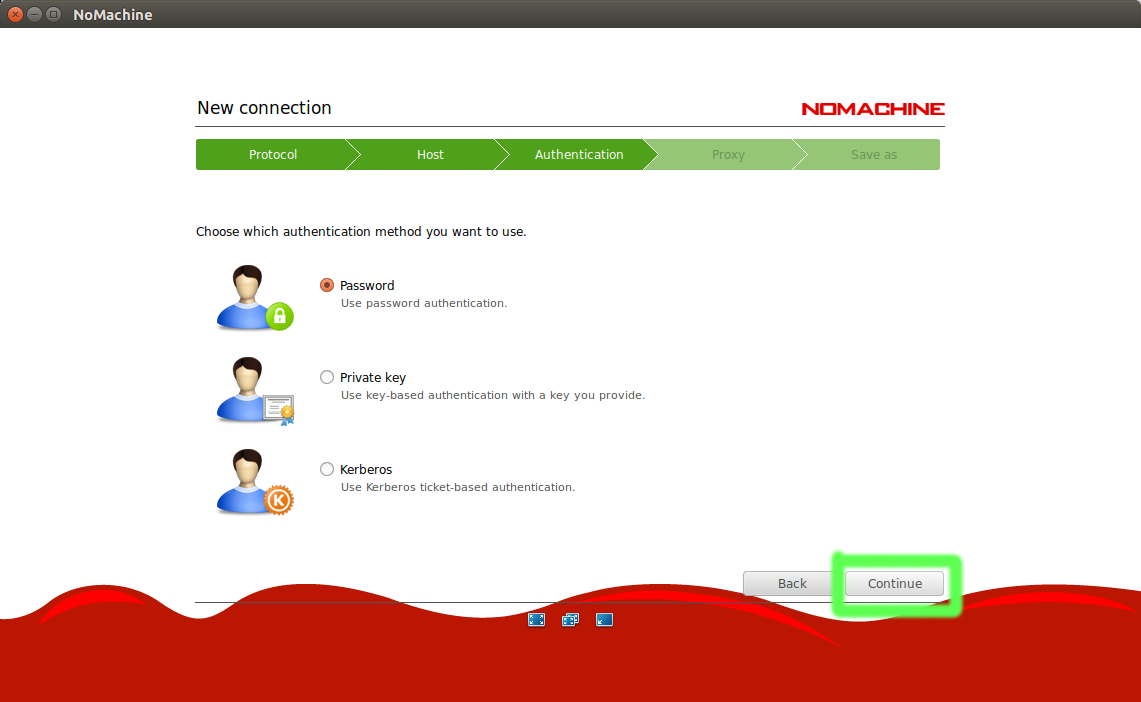
- Click "continue" to use password authentication

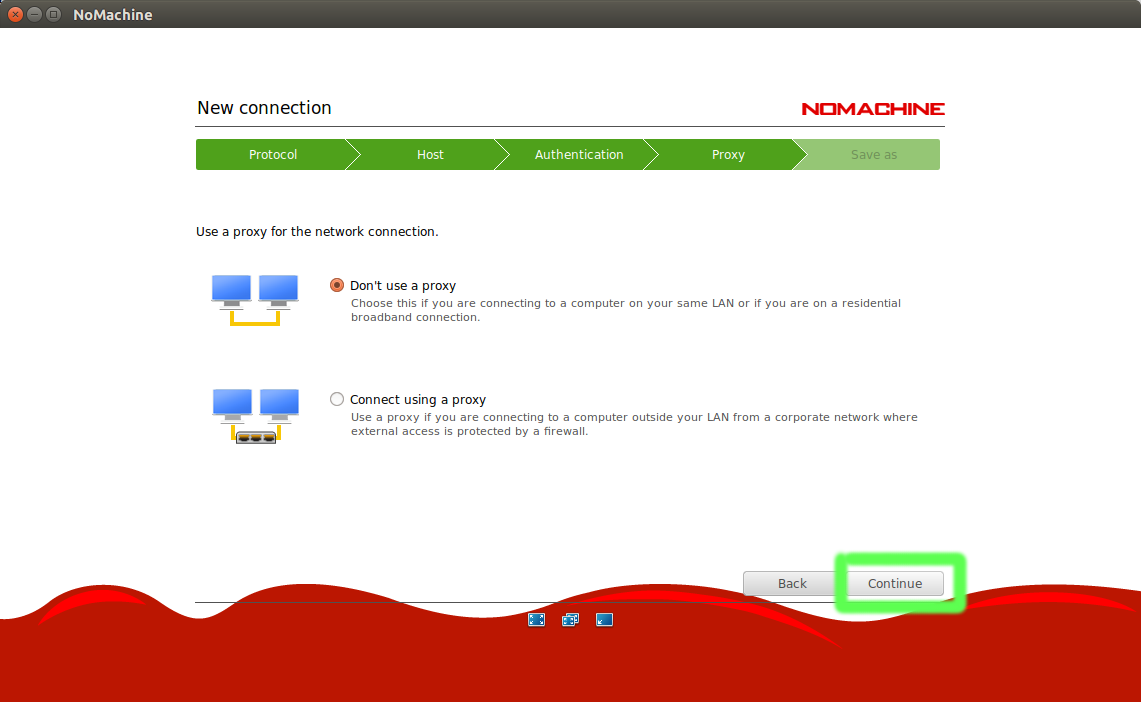
- Click "continue" to select "Don't use a proxy"

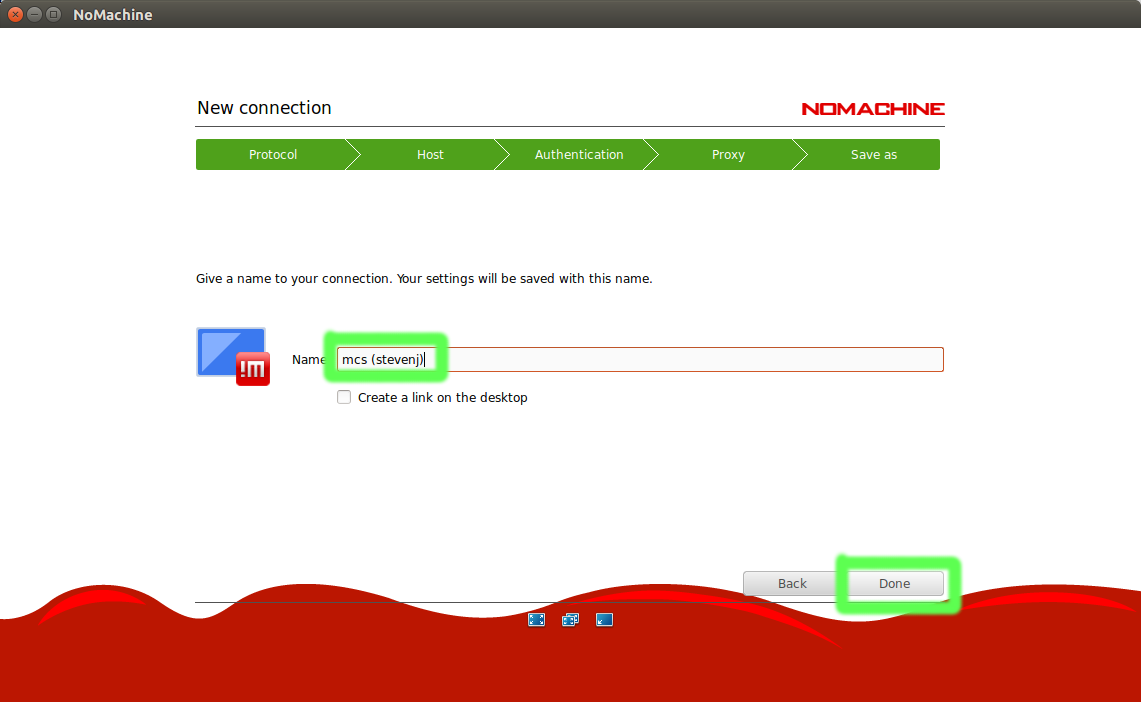
- Type in a name for this connection, will be displayed only to you on your own computer; I used "zeus"

- This new connection appears in your list of connections. Double click it (or click it to select, then click "Continue") to connect

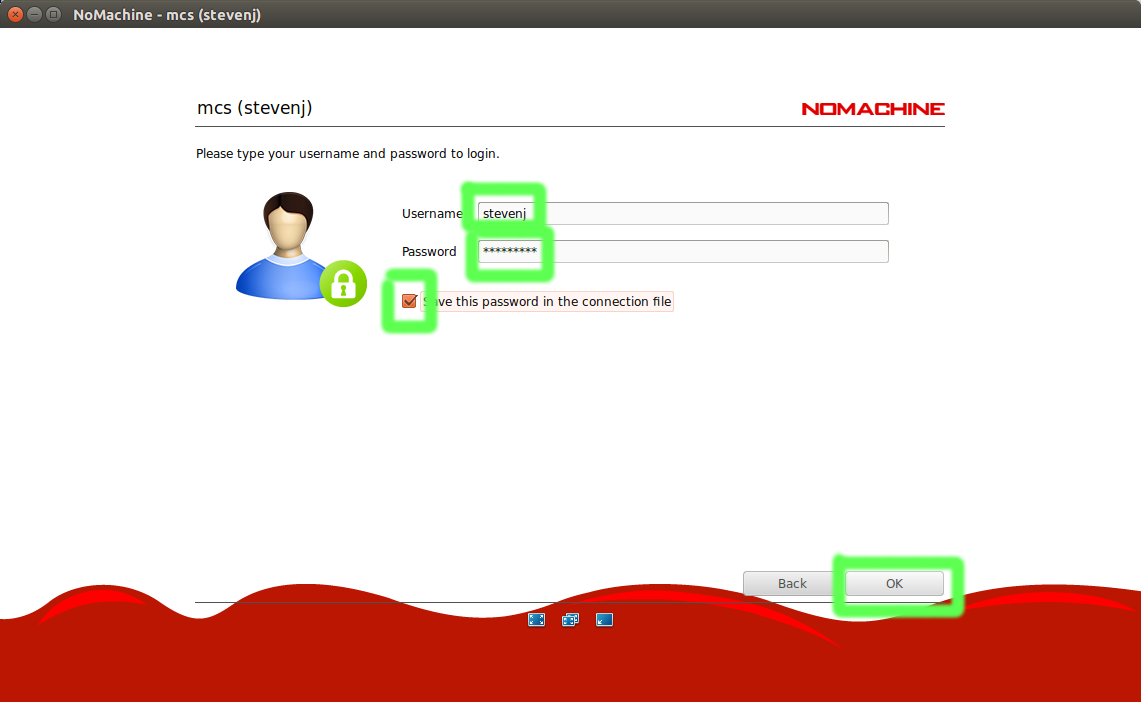
- Sign in with your username and password (do not use the shared astronomer account), and save this password for future connections

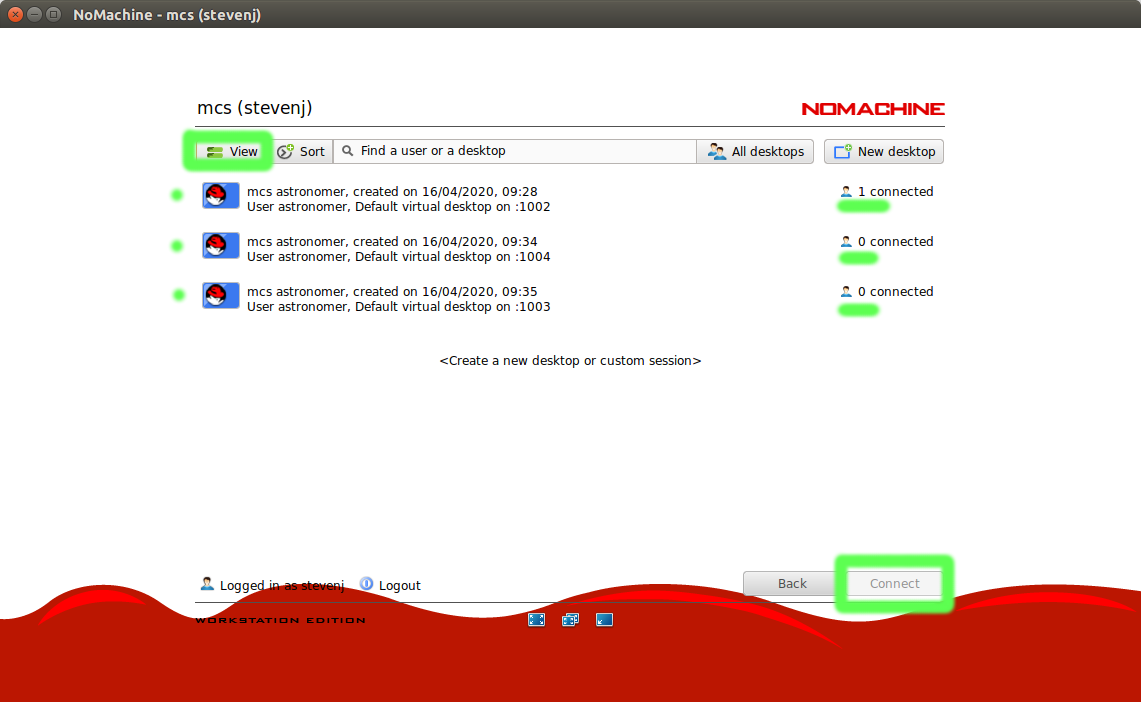
- Now you are connected to zeus and can start a new session (or connect to one you already have running). Note that you can create and connect to one NoMachine? session, then launch NX again and create another session, putting them on separate screens, or however however you need.

The first time you connect, you will be prompted to answer a few configuration questions but if you check the "Don't show this message again for this connection" checkbox, you won't get those again. I recommend checking the box for "change the server resolution to match the client when I connect"
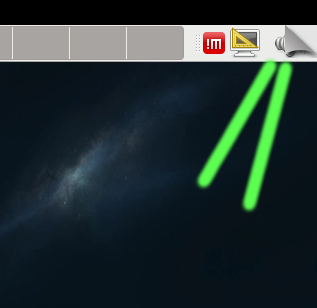
Once connected you can access the NoMachine menu either by mousing over the top-right corner of the NX display until the screen peels and you can click on it (see below) or you can press Ctrl-Alt-A (or other keystrokes set in config file)

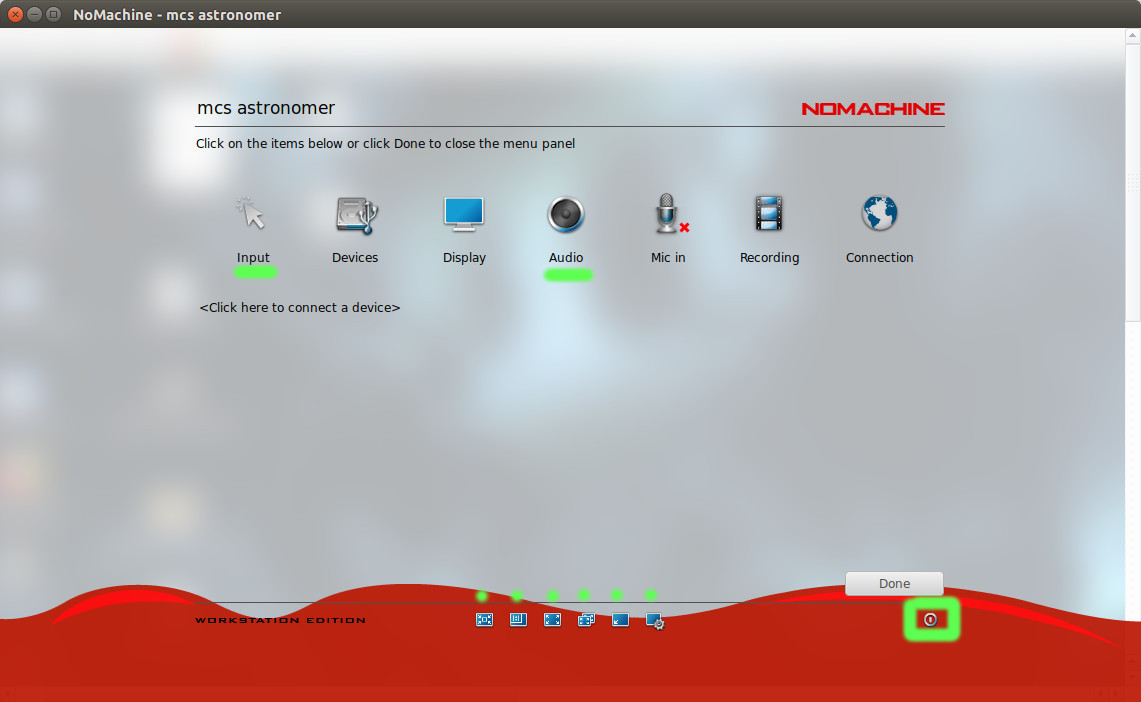
The settings menu is shown below. The small circle with a line in it (bottom right) is how you end the session (either the connection or the player/viewer, both work).

Also important are the 6 small blue icons across the bottom; they are:
- Fit to window
- Resize remote screen
- Fullscreen
- Fullscreen on all screens
- Iconize
- Change settings
I usually click on "Fit to window", "Resize remote screen", and "Fullscreen", but nothing else.
You should also go into the "Input" settings and check the box that says "Grab the keyboard input" to get ctrl/alt to work normally. You may need "Grab the mouse input" and "Emulate middle mouse button" as well.
You may need to change Audio settings - mine has been working well, but if not try disabling and re-enabling it, or changing the audio streaming setting from "Autodetect" to "Built-in Audio Analogue Stereo".
Under the display "Change settings" you can also change the Quality of the display depending on the speed/performance you want. You can check or uncheck the boxes about "network-adaptive display quality" and "client side image post-processing" if that helps, although the default settings worked pretty well for me.
Please get in touch if you have questions or anything doesn't work as expected.
Attachments (12)
- nx1.png (173.8 KB) - added by stevenj 4 years ago.
- nx2.png (39.9 KB) - added by stevenj 4 years ago.
- nx3.png (50.3 KB) - added by stevenj 4 years ago.
- nx4.png (56.0 KB) - added by stevenj 4 years ago.
- nx5.png (67.6 KB) - added by stevenj 4 years ago.
- nx6.png (54.9 KB) - added by stevenj 4 years ago.
- nx7.png (46.1 KB) - added by stevenj 4 years ago.
- nx8.png (50.7 KB) - added by stevenj 4 years ago.
- nx9.png (63.9 KB) - added by stevenj 4 years ago.
- nx10.png (81.6 KB) - added by stevenj 4 years ago.
- nx12.jpg (88.3 KB) - added by stevenj 4 years ago.
- nx11.png (45.1 KB) - added by stevenj 4 years ago.
Download all attachments as: .zip